Hey there! Can you believe this is the last one of the year? Crazytown. I’m hosting this month’s before and after party today instead of earlier this week because of the Christmas decor I was itching to show you. ;)
As always I love to look through the fabulous projects that were linked up (check out last month’s here) and highlight a few. And as always you did not disappoint!
I’m sharing Tamara’s room because it’s super cute and because she shares how to make your own plantation shutters!:
WHAT. Yes, she made them. I’m totally impressed, it looks so good!
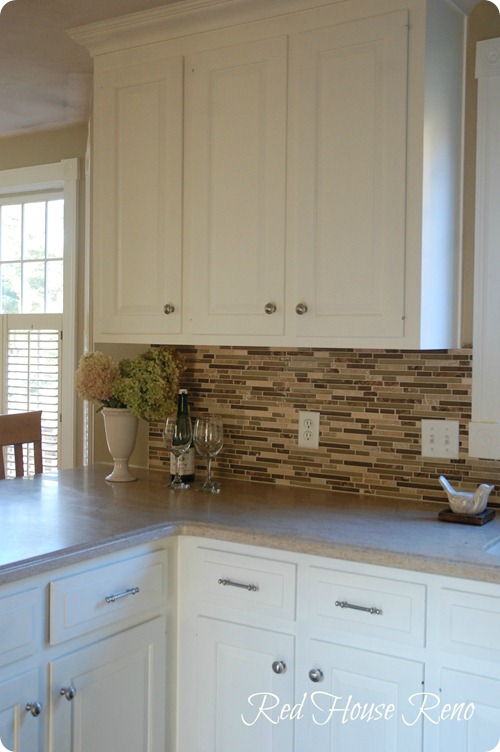
You know I have to share a kitchen makeover each month and Erin’s is beautiful:
I’m telling you – it does not take a lot of money to make a huge change to a space. Just time and patience. Which sometimes are harder to come by than money. ;)
I’m dying to start our kitchen!
I believe a coat of white can update just about anything and Tyler’s fireplace and built ins are a great example of that:
That mirror is fantastic too!
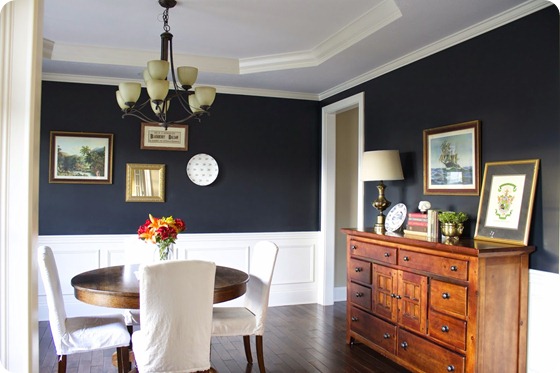
I love white kitchens and white built ins but I was just saying last night (to myself) how much I love deep rich colors too. I crave contrast – like Colleen’s dining room:
She used a deep navy blue and with the white…perfection! I love how wood tones look up against darker colors too – grays and blues especially. Beautiful!
Of course I can’t leave out a good DIY – Angela shared how to get that popcorn texture off your ceilings:
AND she shares how they finished it off after they were done. Again, not an expensive job, but it takes some patience.
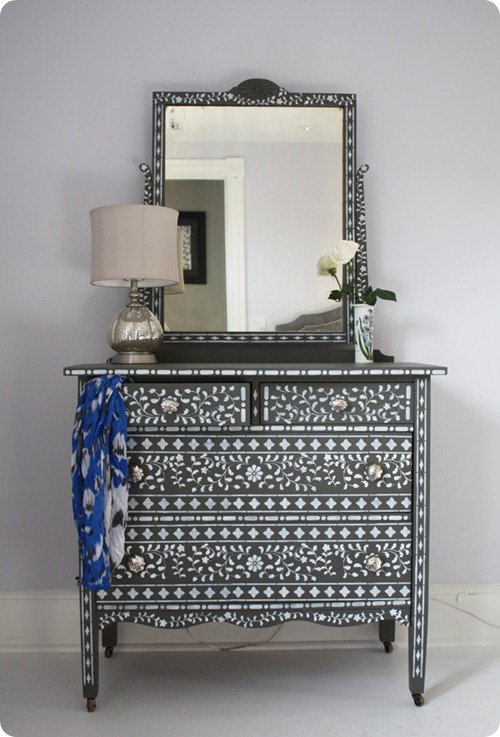
Tori used a pricey bone inlay dresser as her inspiration and did the look on her own for a fraction of the price:
I think that is stunning! She shares the how to here.
And finally…this is brilliant. Brilliant I tell you! And one of those I put away in the “duh, why didn’t I think of that” category. Tasha shares how she made her own art for cheap and got that canvas texture on it as well:
I’ve been putting off a similar project because I was trying to figure out how to get the canvas look when I was done. AWESOME.
Love them all! If you’d like to be considered for a highlight next month, please include a link to TDC or this button in your post:
<div align="center"><a href="http://www.thriftydecorchick.blogspot.com/" title="TDC Before and After" target="_blank"><img src="http://www.homestoriesatoz.com/wp-content/uploads/2012/03/beforeAndAfterButton_thumb1.gif" alt="TDC Before and After" style="border:none;" /></a></div>
Now it’s time to share what you’ve been up to!


![beforeAndAfterButton_thumb[1]](http://www.homestoriesatoz.com/wp-content/uploads/2012/03/beforeAndAfterButton_thumb1.gif)
0 comments:
Post a Comment